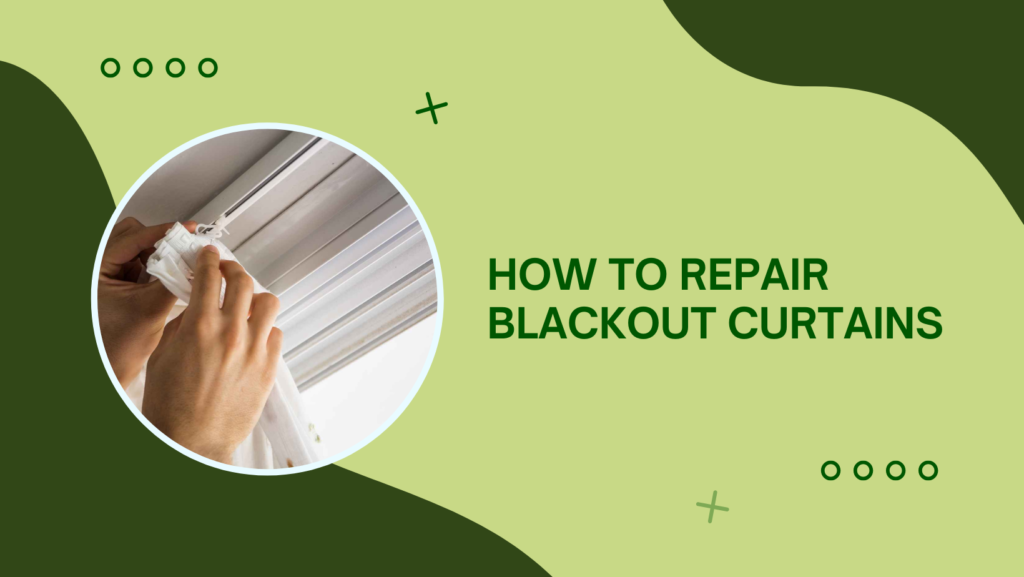
Blackout curtains are an excellent investment for bedrooms, home theaters, and nurseries, providing privacy, thermal insulation, and complete light control. Over time, however, they can experience wear and tear such as small holes, rips, loose seams, or damage to the blackout lining. Addressing these issues promptly not only preserves the curtains’ appearance but also ensures they continue to block light effectively. Fortunately, many common problems can be fixed at home with minimal tools and effort.
Examine the Curtains Before Repair
The first step is to carefully inspect your curtains to determine the extent of the damage. Remove the curtains from the rod or track and detach any hooks or rings to prevent further stress on the fabric. Lay the curtains flat on a clean surface and check whether the damage is on the decorative fabric or the blackout lining. Identifying the type of issue, whether it’s a small tear, a loose seam, frayed edges, or sticky backing, helps you choose the appropriate repair method.
Clean the Curtains
Before beginning any repair, gently clean the damaged area to remove dust or residue. Use a soft cloth or a vacuum with a brush attachment to lift dirt without stretching or pulling the fabric. Cleaning ensures that adhesives, patches, or stitching adhere properly and that repairs last longer. For particularly sticky or dirty areas, a mild fabric cleaner can be applied carefully, taking care not to saturate the blackout lining.
Repairing Small Holes
Pinholes or tiny tears in blackout curtains are common due to prolonged sun exposure, sharp objects, or regular use. For small holes, you can use fabric paint, a black marker, or a thin liquid sealant to cover the gaps. This method restores the dim-out effect without adding bulk to the fabric. For holes larger than an inch, use a patch of similar-looking fabric. Attach the patch with either sewing, fabric glue, or iron-on adhesive, ensuring it aligns smoothly with the surrounding curtain material.
Fixing Larger Rips
Rips caused by forceful pulling or accidents require slightly more attention. If you are comfortable with sewing, align the torn edges and use small, tight stitches along the rip to make the repair nearly invisible. For a no-sew approach, a high-quality fabric glue can be applied along the torn edges. Press the fabric together and place a weighted object on top while it dries, typically for 24 hours, ensuring a strong bond.
Reinforcing Loose Seams and Frayed Edges
Loose seams or frayed edges can make curtains appear worn and may worsen over time. For a durable fix, use fusible bonding tape or a fabric adhesive. Place the tape inside the separated seam, cover it with a cloth, and press gently with an iron set to low heat for a few seconds. Frayed edges can be trimmed neatly and secured by sewing, adhesive, or iron-on tape, restoring the curtain’s clean finish.
Repairing Blackout Lining
The latex or foam lining of blackout curtains is critical for their light-blocking and insulating properties. Minor cracks or peeling can be treated with liquid latex, applied in a thin, even layer over the affected area. Let the latex cure completely before rehanging. If the lining is extensively damaged, patching may not be sufficient, and replacing the lining or consulting a professional is recommended to maintain full blackout functionality.
Preventive Care
Once your blackout curtains are repaired, proper care is essential to prolong their life. Open and close the curtains gently, avoid pulling the fabric forcefully, and clean them regularly to prevent dust buildup. If possible, avoid prolonged direct sunlight, which can degrade both the decorative fabric and the blackout lining. Using curtain liners or protective layers can also prevent minor damage and make future cleaning easier.
When to Replace Your Blackout Curtains
Some damages are beyond repair. Large rips, shredded backing, severe fabric weakening from heat or sunlight, or mold growth mean replacement is the safest option. Trying to repair curtains with these issues can compromise their light-blocking efficiency and durability. In such cases, investing in a new set ensures both functionality and aesthetic appeal in your room.
Conclusion
Blackout curtains can last many years if properly maintained and repaired. By addressing small holes, rips, loose seams, frayed edges, and minor lining issues promptly, you can extend their life and maintain their effectiveness. With simple tools like fabric glue, fusible tape, liquid latex, or needle and thread, most common problems can be solved at home. For extensive damage, professional repair or replacement ensures your curtains continue to provide privacy, insulation, and a perfectly darkened room.